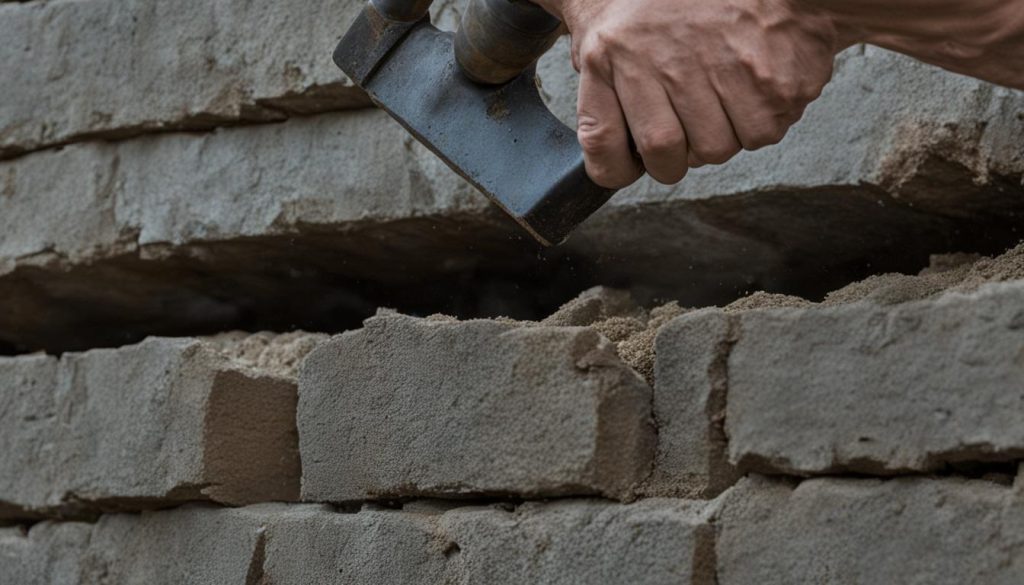
Welcome to our comprehensive guide on all things DIY retaining wall repair. Whether you’re dealing with damage or simply want to reinforce your retaining wall, we’ve got you covered with practical tips and tricks. With our help, you’ll learn how to create a sturdy, Canadian-proof wall that will stand the test of time. Let’s get started!
Key Takeaways:
- Learn how to assess the damage to your retaining wall
- Gather the necessary tools and materials before starting any repair work
- Repair small cracks and patches with ease
- Reinforce a leaning retaining wall to prevent further movement
- Implement waterproofing and drainage solutions for long-term stability
Assessing the Damage
Before we start any repair work on your retaining wall, it’s crucial to assess the extent of the damage. To ensure a successful DIY repair job, we must understand the severity of the damage and the appropriate repair method to fix it.
Here are some common issues to look out for when assessing your retaining wall:
- Cracks in the wall
- Bulges or unevenness in the wall
- Leaning or tipping of the wall
- Water damage or erosion
Identifying the damage is the first step towards repairing your retaining wall and restoring its structural integrity. Use some of these tactics to assess the damage:
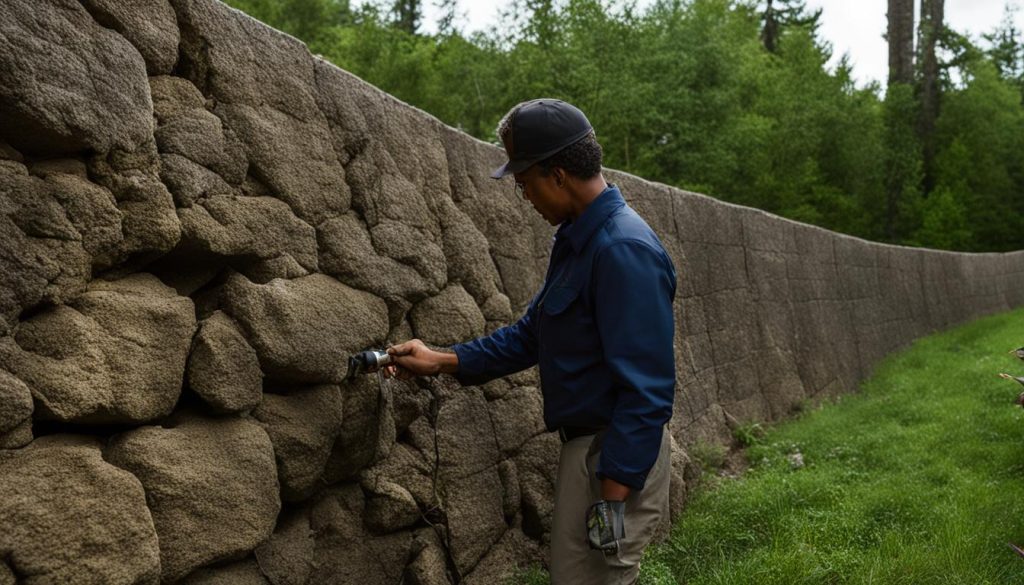
- Visual Inspection – examine the retaining wall thoroughly to identify any obvious signs of damage such as cracks, bulges, or leaning.
- Sounding – gently tap the wall’s surface with a mallet to detect any hollow or weak areas.
- Level Measurement – use a level to check if the retaining wall is leaning or uneven.
- Water Test – pour water on the wall and observe if it runs off or seeps through. If it seeps through, you may have a drainage problem.
Once you have assessed the damage, you can determine the best course of action and apply the necessary repair methods.
Don’t forget, if you’re unsure of how to proceed with the assessment or repair process, it’s always a smart decision to contact a professional retaining wall repair company.
Gather the Necessary Tools and Materials
Before embarking on any DIY repair project, it’s crucial to have all the essential tools and materials on hand. This will save you time and ensure a smoother repair process. Here’s a detailed list of items you will need for your retaining wall repair:
| Tools | Materials |
|---|---|
|
|
|
|
Having these tools and materials readily available will make your DIY retaining wall repair project a success. If you don’t have all these items, consider renting or borrowing them from a hardware store. It’s important not to cut corners on tools and materials, as this can compromise the safety and longevity of your retaining wall repair.
Now that you have everything you need, it’s time to assess the damage to your retaining wall. Let’s move on to section 2 to learn more about this crucial step.
Repairing Small Cracks and Patches
Small cracks and patches in your retaining wall can be a common issue and can occur due to weather changes or shifting ground. These minor damages can be repaired easily without professional assistance.
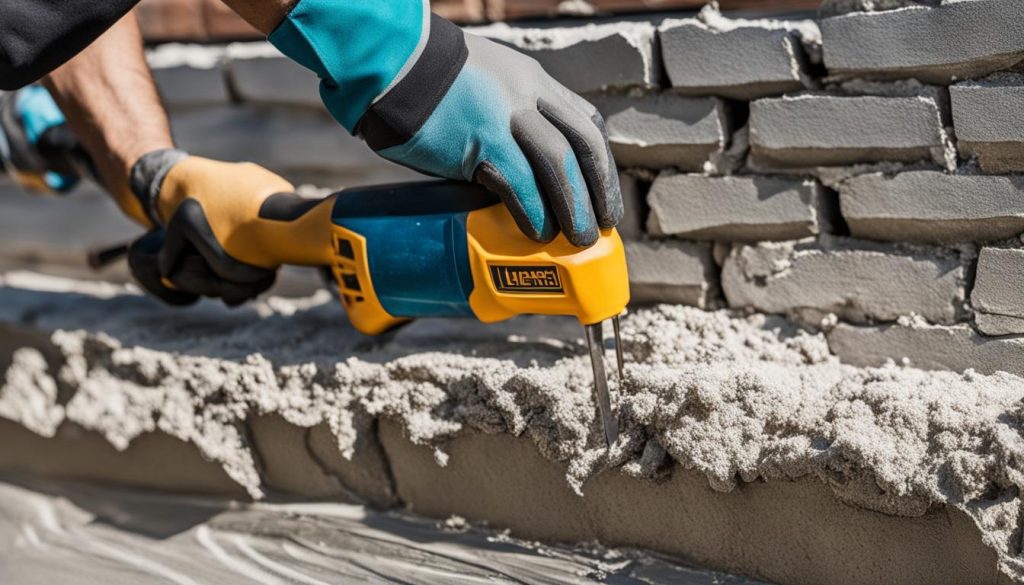
The first step is to clean the affected area thoroughly. Remove any debris, dirt, or loose material that may interfere with the repair process. Use a wire brush or chisel to remove any loose concrete or mortar, and then wash the area with a pressure washer or hose. Allow it to dry completely before proceeding.
If the crack is less than a quarter-inch wide, use a polyurethane or silicone caulk to fill it. Apply the caulk with a caulk gun, and use a putty knife or trowel to smooth it out. For larger cracks or holes, a patching compound can be used. Mix the compound according to the manufacturer’s instructions and apply it to the crack or hole with a putty knife or trowel. Smooth the surface with a trowel and allow it to dry according to the manufacturer’s instructions.
After the patching compound has dried, use fine-grit sandpaper to smooth the surface and ensure it is level with the surrounding area. If necessary, apply a second coat of patching compound and repeat the sanding process.
Finally, seal the repaired area with a concrete sealer or waterproofing agent to prevent water from entering and causing further damage. This will also help to extend the lifespan of your retaining wall.
Our Tips:
- Wear gloves and safety glasses to protect your hands and eyes during the repair process.
- Do not apply too much pressure when smoothing out the patching compound, as it may push it out of the crack or hole.
- Before applying the concrete sealer or waterproofing agent, read the manufacturer’s instructions carefully to ensure proper application.
Reinforcing a Leaning Retaining Wall
If you’ve noticed that your retaining wall is starting to lean, don’t worry! We’re here to help you reinforce it and prevent further movement. Here are some steps you can take:
- Identify the cause: Before attempting to fix the problem, it’s essential to understand the root cause of the leaning. Is the soil giving way due to poor drainage? Are there heavy objects or trees pressing against the wall? By addressing the underlying issue, you can prevent future leaning and ensure a more permanent fix.
- Install reinforcement: Using steel or wooden posts, you can add support to your retaining wall and prevent it from leaning further. You’ll need to dig holes at intervals along the wall and add the posts vertically, tying them to the existing wall with wire. Make sure that the posts extend at least a foot above the top of the retaining wall to provide maximum support.
- Backfill: To further reinforce the retaining wall, you can backfill behind it with compacted gravel or crushed stone. This will provide additional support and help distribute the weight of the soil evenly across the wall.
- Professional assistance: If the leaning is severe or you’re unsure about how to proceed, it’s best to seek professional assistance. A retaining wall repair specialist can provide expert advice and ensure that the repair work is done safely and effectively.
Remember, reinforcing a leaning retaining wall requires careful planning and execution. By following these tips and seeking professional help when needed, you can ensure the long-term stability of your retaining wall and avoid costly repairs down the line.
Replacing Damaged Sections
When it comes to severe damage or structural instability, replacing sections of your retaining wall may be necessary. Here’s how to do it:
Step 1: Gather Materials
Before starting any work, gather the necessary tools and materials. For this repair, you’ll need:
- Concrete blocks or bricks
- Masonry adhesive
- Masonry saw or chisel and hammer
- Wheelbarrow
- Mortar mix
- Trowel and level
Step 2: Remove the Damaged Section
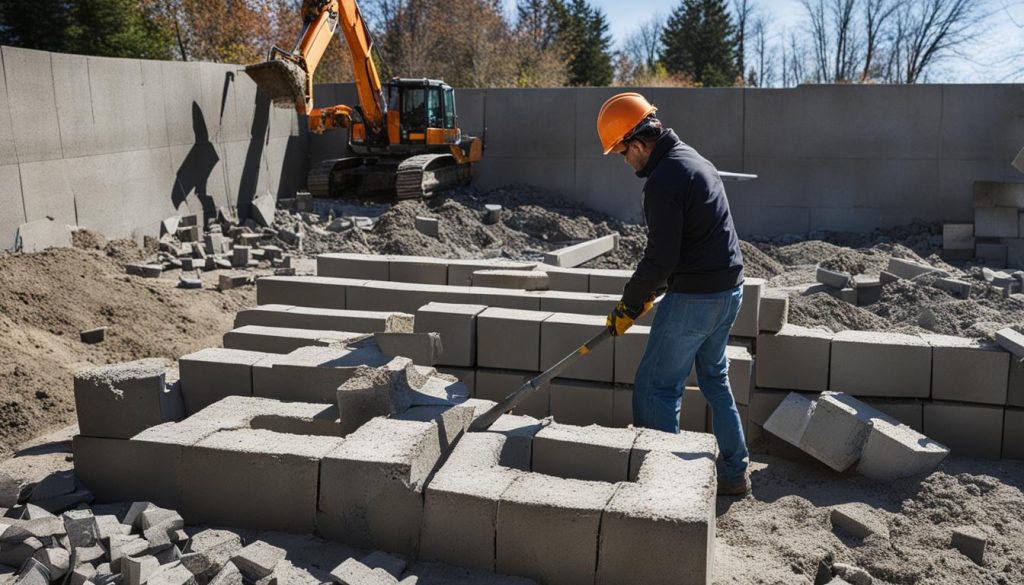
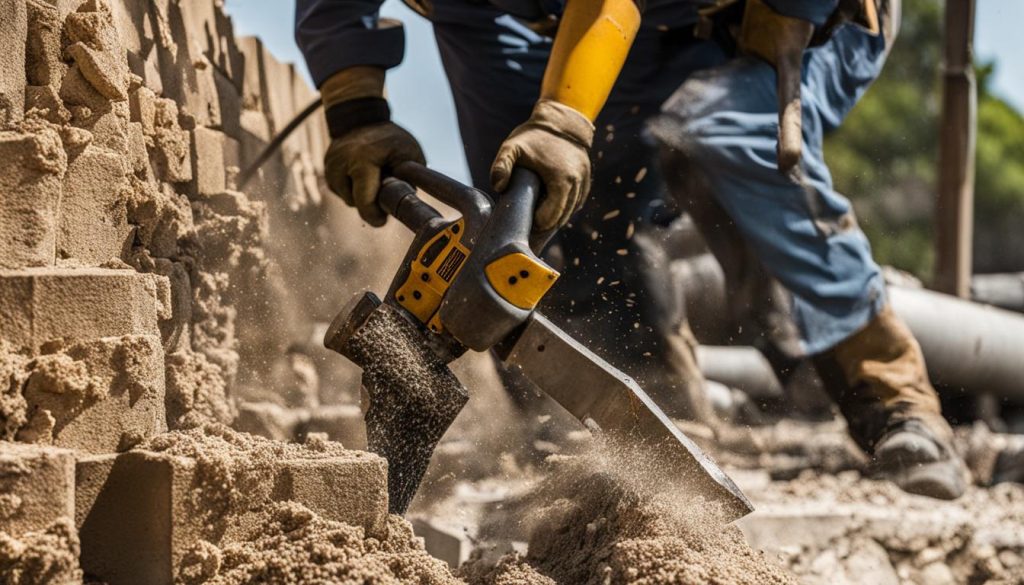
Using a masonry saw or chisel and hammer, carefully remove the damaged section of your retaining wall. Be sure to wear protective gear, including safety glasses and gloves, and work in small sections to avoid damaging the rest of the wall.
Step 3: Prepare the Foundation
Once the damaged section has been removed, prepare the foundation by leveling the ground and adding a layer of mortar. This will help ensure a stable base for the new section.
Step 4: Install the New Section
Place the new section of your retaining wall into the prepared foundation, using mortar to secure it in place. Check that it’s level and stable before moving on.
Step 5: Finish and Allow to Cure
Use masonry adhesive to attach any finishing pieces or capstones to the new section, and allow everything to cure for at least 48 hours before adding any additional weight or pressure to the wall.
When replacing sections of your retaining wall, it’s important to ensure that the new section blends seamlessly with the existing structure. If you’re not confident in your DIY skills, don’t hesitate to contact a professional retaining wall repair service for assistance. They’ll be able to ensure a safe, effective repair that will last for years to come.
Waterproofing and Drainage Solutions
When it comes to retaining wall repair, waterproofing and drainage are critical factors to consider. Water damage can cause significant structural issues and erosion, leading to costly repairs and potential safety hazards. We recommend implementing the following solutions to mitigate water-related problems:
1. Waterproof Sealants
Applying a waterproof sealant to your retaining wall is an effective way to prevent water damage. Sealants create a barrier on the surface of the wall, preventing water from seeping through and causing damage. There are various types of sealants available, including spray-on and brush-on options. We recommend consulting with a professional to determine the best sealant for your specific needs.
2. Drainage Systems
Installing a drainage system is another crucial step in waterproofing your retaining wall. Drainage systems divert water away from the wall, preventing water buildup and erosion. Some options include French Drains and weeping tile systems. Your choice will depend on factors such as the soil type and the severity of water buildup.
3. Backfilling Techniques
Proper backfilling techniques can also contribute to effective drainage and prevent water damage. Backfilling involves placing material behind the retaining wall to promote drainage and prevent water buildup. Using gravel or crushed stone for backfilling allows for water to flow freely, preventing buildup and reducing the risk of damage.
| Pros | Cons |
|---|---|
| Effective in preventing water damage | May require professional assistance for installation |
| Long-lasting solution | Can be costly |
| Increases the lifespan of your retaining wall | Requires regular maintenance |
Implementing these waterproofing and drainage solutions will help your retaining wall withstand Canadian weather conditions and protect it from costly damage. Remember to inspect and maintain your wall regularly to ensure its longevity and durability.
Maintaining and Inspecting Your Retaining Wall
Proper maintenance and regular inspections are critical for ensuring your retaining wall is in top condition. By identifying and addressing issues early on, you can prevent costly repairs and prolong the lifespan of your wall. Here are some maintenance and inspection tips to keep in mind:
Create a Scheduled Maintenance Plan
Set a maintenance schedule for your retaining wall and stick to it. Depending on the age and condition of your wall, you may need to inspect it once or twice per year. Use a calendar or reminder system to keep track of your maintenance tasks.
Inspect for Visible Damage
During your regular inspections, check for any visible damage to your retaining wall. Look for cracks, bulges, or leaning sections, and note any changes since your last inspection. You should also inspect the soil around your wall for signs of erosion or settling.
Check for Drainage Issues
Poor drainage can lead to water damage and erosion, which can compromise the structural integrity of your retaining wall. Check for any standing water or signs of erosion around your wall. Make sure your drainage system is functioning properly and clear any debris or blockages.
Trim Back Vegetation
If there is vegetation growing near your retaining wall, make sure to trim it back regularly. Roots can cause damage to the wall and compromise its stability over time.
Keep an Eye on Soil Moisture
Changes in soil moisture can affect the stability of your retaining wall. During dry spells, monitor the soil moisture around your wall and water as needed. If you notice any areas of excess moisture, investigate the cause and address it promptly.
Document Your Inspections
Keep careful records of your maintenance and inspections, including the date, any issues found, and any repairs made. This will help you track the history of your retaining wall and stay on top of any emerging issues.
By following these tips, you can ensure that your retaining wall remains sturdy and secure for years to come. Remember, regular maintenance and inspections save time and money in the long run.
Benefits of Professional Retaining Wall Repair
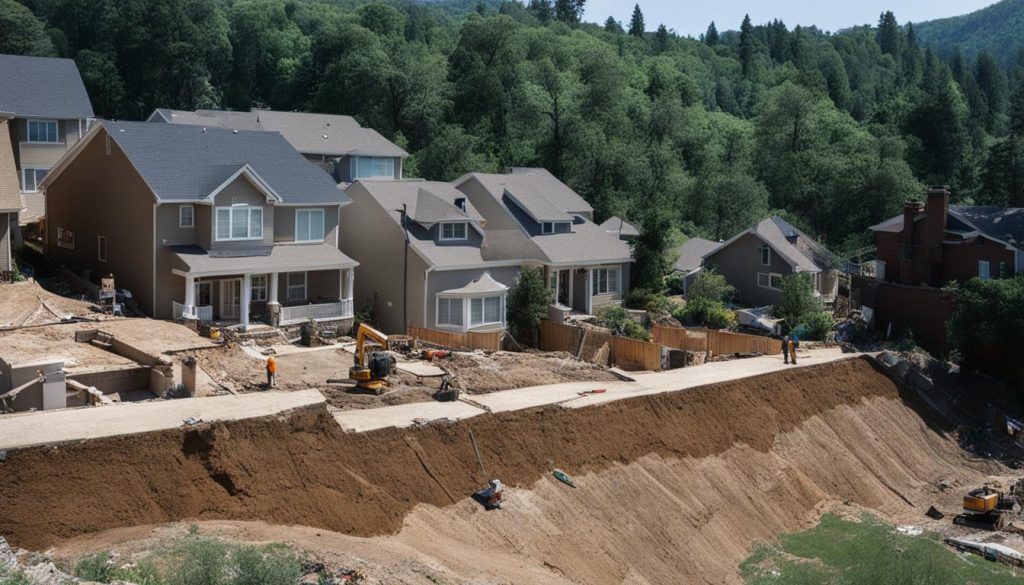
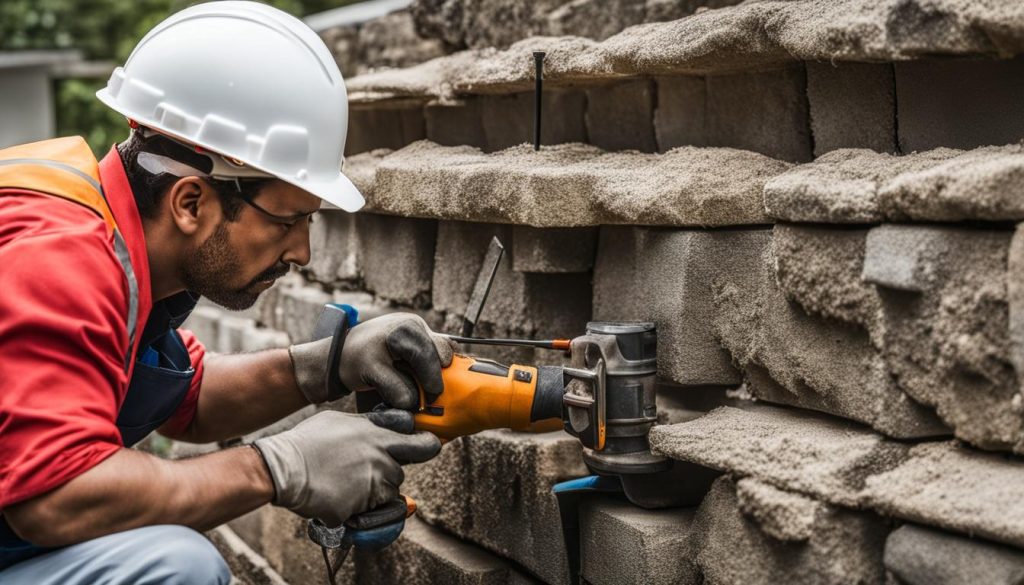
While DIY repairs can be a cost-effective solution for minor retaining wall damage, there are certain instances where professional retaining wall repair services are necessary. Hiring a reputable company, like Retaining Wall Repair, comes with many benefits that can help you achieve the best outcome for your wall. Here are some reasons why you should consider leaving the repair job to the professionals:
- Expertise: With years of experience and a team of highly skilled professionals, reputable retaining wall repair companies have the knowledge and expertise needed to handle any retaining wall repair project.
- Efficient solutions: Professional retaining wall repair services can quickly assess the extent of the damage and develop a customized repair plan that addresses the root cause of the issue. This can save you time and money in the long run by preventing further damage and potential costly repairs.
- Warranty coverage: Reputable retaining wall repair companies offer warranties on their work, giving you peace of mind knowing that your wall is protected.
At Retaining Wall Repair, we pride ourselves on our commitment to delivering top-quality retaining wall repair services that exceed our clients’ expectations. Our team is equipped with state-of-the-art tools and technology to ensure that your retaining wall repair is done right the first time.
Contact us at (647) 812-9837 or visit our website to learn more about our services and schedule a consultation. Let us take care of your retaining wall repair needs so that you can focus on enjoying your outdoor space to the fullest.
Safety Precautions and Tips
When it comes to DIY retaining wall repair, safety should always come first. Here are some important safety precautions to keep in mind:
- Protective gear: Wear safety goggles, gloves, and a dust mask to protect yourself from dust, debris, and sharp edges.
- Stable work surface: Make sure your work area is level and stable. Avoid working on steep slopes or unstable surfaces.
- Proper tools: Use the right tools for the job and follow instructions carefully. Don’t use damaged or malfunctioning tools.
- Electrical safety: If you’re using power tools, make sure to follow proper electrical safety protocols.
- Working with concrete: If you’re working with concrete, make sure to mix it correctly and wear a respirator to avoid inhaling harmful dust.
- Heavy lifting: Use proper lifting techniques and get help if needed to safely move heavy materials.
By following these precautions, you can ensure a safe and successful DIY retaining wall repair project.
Trust Retaining Wall Repair for Professional Assistance
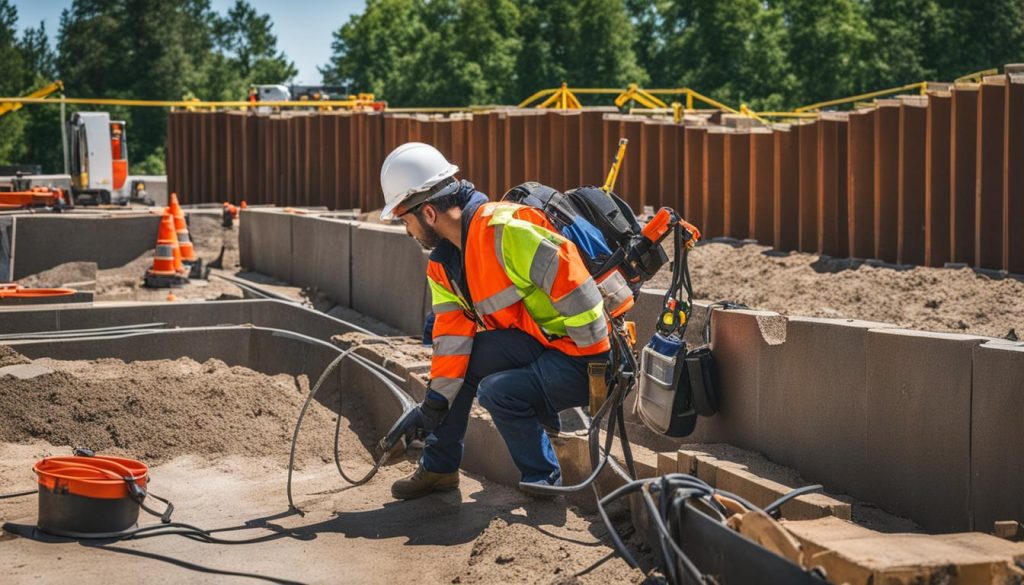
At Retaining Wall Repair, we understand that DIY repairs are not always feasible or safe. That’s where our team of experienced professionals comes in. We provide reliable and top-quality retaining wall repair services to ensure the long-term stability of your wall.
Our team has the expertise and equipment to handle any retaining wall repair job, no matter the size or complexity. We use only the highest quality materials and methods to reinforce or replace damaged sections of your wall, ensuring a seamless integration with the existing structure.
What’s more, our services come with warranty coverage, providing you with peace of mind and safeguarding your investment.
Contact Us Today
Don’t let a damaged or unstable retaining wall put your property at risk. Contact Retaining Wall Repair today to schedule a consultation and learn more about our professional retaining wall repair services.
You can reach us at (647) 812-9837 or visit our website to learn more about our services and request a quote. We are committed to providing reliable and efficient solutions to ensure the longevity of your retaining wall.
Trust us for all your professional retaining wall repair needs, and let us help you restore and reinforce your retaining wall for long-lasting durability.
FAQ
How do I assess the damage to my retaining wall?
Before starting any repair work, it’s important to assess the extent of the damage to your retaining wall. Look for common issues such as cracks, bulges, or leaning walls to understand the severity of the damage.
What tools and materials do I need for DIY retaining wall repair?
To successfully repair your retaining wall, you’ll need essential items such as safety equipment, adhesives, sealants, and materials for patching or replacing damaged sections. It’s important to gather all the necessary tools and materials before starting the repair process.
How do I repair small cracks and patches in my retaining wall?
Small cracks and patches can be easily repaired without professional assistance. You can follow the steps to fill and seal cracks, as well as learn how to patch small areas of damage. These tips will help maintain the structural integrity of your retaining wall.
What should I do if my retaining wall is leaning?
If your retaining wall is leaning, there’s no need to panic. We’ll show you how to reinforce it and prevent further movement. Our guide includes installing reinforcements and backfilling techniques to help stabilize your retaining wall.
How do I replace damaged sections of my retaining wall?
In some cases, damaged sections of a retaining wall may need to be replaced. We’ll explain the step-by-step process of safely removing and replacing sections, ensuring a seamless integration with the existing structure. You’ll learn how to choose the right materials and techniques for a professional-looking finish.
What are the waterproofing and drainage solutions for retaining walls?
To maintain the long-term stability of your retaining wall, it’s crucial to address water-related issues. We’ll introduce you to effective waterproofing methods and drainage solutions to prevent water damage and erosion. By implementing these strategies, you’ll increase the lifespan of your wall and minimize the need for future repairs.
How do I maintain and inspect my retaining wall?
Regular maintenance and inspections are essential for keeping your retaining wall in top shape. We’ll provide you with a checklist and guide for inspecting your wall, identifying potential issues, and performing routine maintenance tasks. By staying proactive, you can catch problems early on and save yourself from costly repairs down the line.
When should I consider professional retaining wall repair?
While DIY repairs are often sufficient for minor issues, there are instances where professional assistance is necessary. We’ll explore the benefits of hiring a reputable retaining wall repair company, such as expertise, efficient solutions, and warranty coverage. Knowing when to call in the professionals will ensure the best outcome for your retaining wall.
What safety precautions should I follow during DIY retaining wall repair?
Safety should always be your top priority when tackling any home repair project. We’ll outline important safety precautions to follow throughout the DIY retaining wall repair process. From wearing protective gear to using tools properly, our tips will help you maintain a safe and accident-free work environment.
How can I contact Retaining Wall Repair for professional assistance?
If you find yourself in need of professional assistance or have any questions, trust Retaining Wall Repair. Our experienced team is dedicated to providing reliable, top-quality retaining wall repair services. Contact us at (647) 812-9837 or visit our website to learn more about our services and schedule a consultation. Let us help you restore and reinforce your retaining wall for long-lasting durability.

